
Pool leak signs and homeowner checks
7 Signs of a Pool Leak: Arizona Homeowner Checklist
Learn seven signs of a possible pool leak, safe checks Arizona homeowners can do, and how to run accurate pump-on and pump-off bucket tests.
Published August 31, 2026 · Updated August 31, 2026 · 9 min read · By Echo Leak Detection
What to know first
- A constantly running autofill, wet areas, air in the system, visible equipment drips, and repeatable water-level changes are reasons to investigate.
- A bucket test compares the pool against evaporation at the same property; it indicates unexplained loss but does not locate a leak.
- Pump-on and pump-off patterns guide the testing order. They do not prove whether the source is plumbing, a fitting, the shell, a spa, or a water feature.
A useful next step
Have measurements or photos ready?
Send Echo the pool drop, bucket drop, pump schedule, autofill setting, and any useful photos. These details help plan what needs testing; they do not diagnose the source or commit you to a repair.
A warning sign is a reason to measure, not a diagnosis
Arizona pools can lose noticeable water to heat, dry air, wind, moving water, swimmer activity, backwashing, and splash-out. A leak can create many of the same symptoms. The useful question is not whether one clue looks suspicious; it is whether several observations form a repeatable pattern that remains after ordinary water use is accounted for.
Do not let a pool drop below the level needed for safe circulation or expose a finish that should remain submerged. Protect the equipment first and record the water level for the technician.
Seven signs of a possible pool leak
None of these signs identifies an exact source by itself. Together, they can tell you when a controlled test is worth the effort.
1. The pool drops farther than the bucket
When the pool loses more water than a nearby bucket over the same period, the difference is unexplained loss worth repeating and investigating.
2. The autofill runs more often
An automatic leveler can replace water before you notice the drop. A valve that rarely stops, a higher water bill, or a pool that needs frequent manual filling deserves a measured check.
3. Wet soil or damp areas keep returning
Persistent moisture near the equipment, deck, pool wall, or a suspected plumbing route can support a leak concern after irrigation, rain, drainage, and normal splashing are ruled out.
4. Air appears in the pump basket or returns
Air can enter for several reasons, including a low pool level or equipment issue. When it appears with water loss, it can support a suction-side concern and should be documented.
5. Equipment drips or leaves mineral deposits
Look for active drips, damp pads, valve leaks, pump-seal moisture, and white mineral buildup that may show where water has repeatedly dried.
6. Loss changes with an operating mode
A difference when the pump, attached spa, cleaner, spillway, or water feature runs can help prioritize which part of the system should be isolated first.
7. The water repeatedly stops at one elevation
A consistent stopping level can make nearby skimmers, lights, returns, tile-line cracks, spa spillways, or other penetrations more worth inspecting. It is a clue, not confirmation.
Safe checks to make before the bucket test
Start with observations that do not require opening pressurized equipment, draining the pool, or guessing at a repair.
Check the equipment while it runs
Look from a safe distance for drips, spray, wet concrete, air in the pump basket, or moisture around valves, filters, heaters, and chlorination equipment.
Confirm what added or removed water
Write down rain, swimming, splash-out, backwashing, filter cleaning, water-feature use, and any manual filling during the measurement period.
Turn off the autofill
Disable the automatic leveler for the controlled test so it cannot hide the drop. If you are unsure which valve supplies it, get help rather than shutting off an unknown line.
Photograph the starting conditions
Capture the pool level, bucket marks, equipment, pump schedule, spa setting, and any wet areas. Photos make the second round easier to compare.
How to perform a two-round bucket test
Use the same 24-hour duration for both rounds. Restart a round after rain, heavy wind, swimming, backwashing, unusual splash-out, or accidental refilling.
Turn off the autofill or automatic leveler. Do not add water, swim, backwash, or run water features during either round.
Place a clean 5-gallon bucket, preferably white, on the top pool step. Before the bucket gets wet, run painter tape from inside the bucket, over the rim, and down the outside.
Fill the bucket with pool water to about 1 inch below the top. Mark the bucket-water level on the inside tape and the pool-water level on the outside tape. A pencil often works better than a wet marker.
For the pump-on round, let the circulation system follow its normal schedule for 24 hours. Mark, photograph, and measure the drop in both the pool and bucket.
Reset the levels and tape marks. Turn the pump completely off and repeat the test for another 24 hours, then mark, photograph, and measure both drops again.
For each round, subtract the bucket drop from the pool drop. A positive difference is unexplained water loss for that measured period.
If the pool level approaches the bottom of the skimmer opening during the pump-on round, turn the pump off before it can run dry.
What pump-on and pump-off results can tell you
The comparison helps Echo choose a testing order. It is not a substitute for isolating and confirming the actual system.
The pool and bucket drop about the same amount
The result is consistent with evaporation for that period. Continue monitoring if other symptoms remain or conditions change.
The pump-on round has more unexplained loss
Return-side or pressure plumbing, or an operating water feature, moves higher on the list. Air entering the pump can also support a suction-side concern. These patterns guide testing; they do not prove a leak location.
The pump-off round has more unexplained loss
Extra loss with equipment off can make a static leak, such as the shell, fittings, skimmer, light, or gravity-fed plumbing, more worth investigating. It does not identify the exact source by itself.
Both rounds show similar unexplained loss
A shell, skimmer, light, fitting, drain, or another static condition may deserve closer inspection, while accessible plumbing may still need to be ruled out.
When homeowner testing has done enough
Call for professional testing when a repeated bucket test shows additional pool loss, the autofill masks a continuing drop, wet areas return, air enters the system, the loss changes by operating mode, or the water level keeps settling near the same feature. Attached spas, fountains, raised walls, long plumbing runs, and unknown remodel histories add systems that are difficult to evaluate from water level alone.
What professional leak detection adds
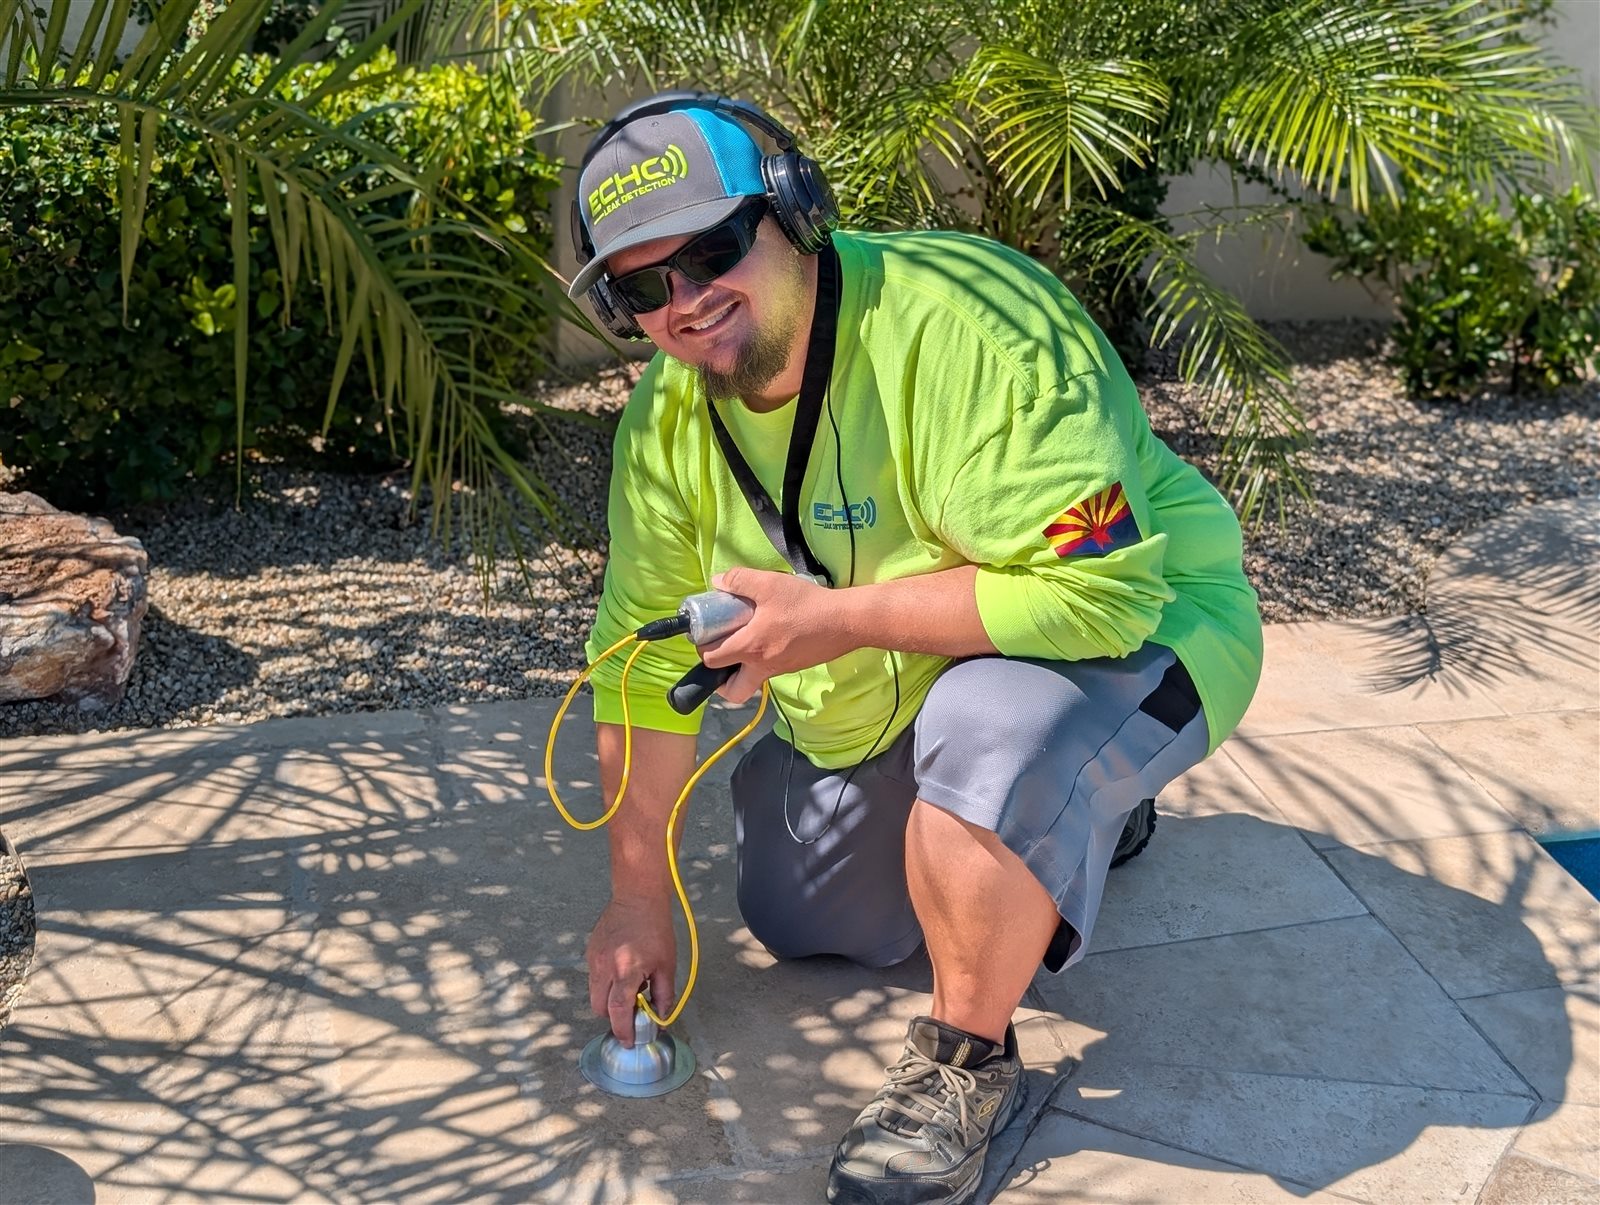
A professional visit turns the homeowner observations into a controlled diagnostic plan. Depending on the pool, Echo may inspect and dye-test the shell and penetrations, isolate the spa or water features, pressure-test individual plumbing lines, use acoustic equipment to narrow an underground failure, or use tracer gas when appropriate. The goal is to locate and confirm the source before repair access begins.
Continue with the right next step
Pool leak questions homeowners ask
Is a bucket test proof that my pool has a leak?
It is evidence of unexplained water loss, not a leak-location test. Repeat a concerning result under similar conditions, then use professional testing to isolate and confirm the source.
How long should each bucket-test round run?
Use 24 hours for the pump-on round and 24 hours for the pump-off round. Keeping both rounds the same length makes the comparison easier to understand.
Can an autofill hide a pool leak?
Yes. An automatic leveler replaces lost water and can prevent a visible drop. Turn it off during a controlled test when it is safe to do so.
Can pump-on and pump-off results identify the exact leak?
No. The pattern helps decide what to test first, but shell, fitting, equipment, spa, water-feature, and plumbing concerns require direct isolation and confirmation.
Need a clear answer about continuing water loss?
Bring Echo your measurements, photos, pump schedule, and bucket-test results. The next step is to isolate and confirm the source before repair decisions begin.